How to Make a Twist Cylinder for Your DIY Projects?
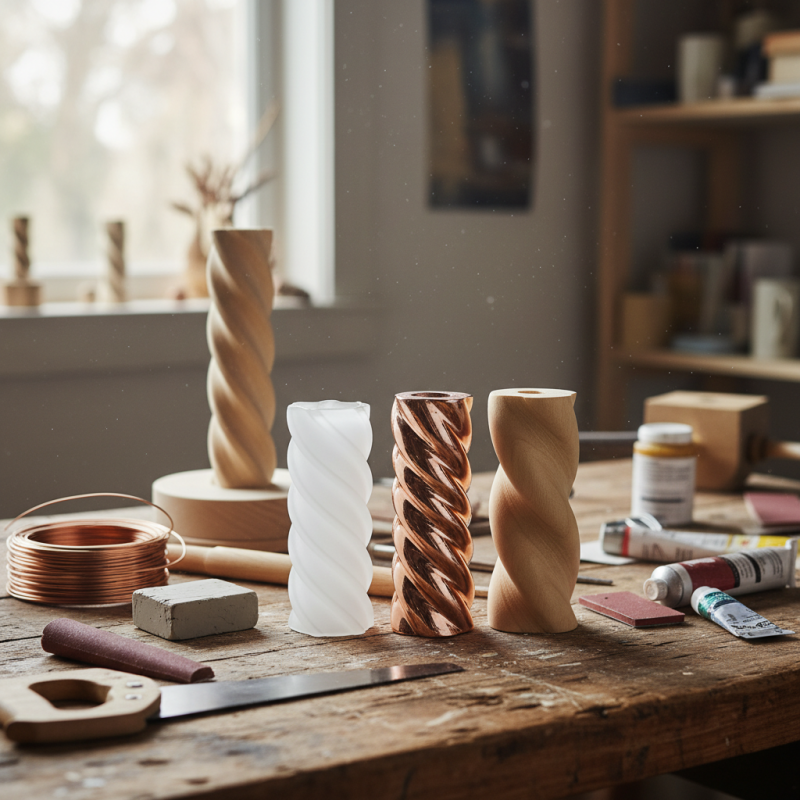
Creating a Twist Cylinder can elevate your DIY projects to the next level. This unique shape adds an artistic flair and functional beauty to various crafts. Whether you're looking to enhance a lamp, a decorative piece, or a simple utensil, the Twist Cylinder is a versatile option.
To make one, you will need some basic materials and tools. The beauty of a Twist Cylinder lies in its design, which is both simple and engaging. However, it may take several attempts to perfect your technique. It's essential to embrace the learning process, accepting imperfections along the way.
Imagine the satisfaction of crafting something unique that reflects your personal style. Experimenting with different sizes and textures can lead to unexpected results. Sometimes, what seems like a mistake can turn into a new creative direction. So, gather your materials and prepare to dive into the world of Twist Cylinders. Your next project may just surprise you!
Understanding the Basics of Twist Cylinder Design
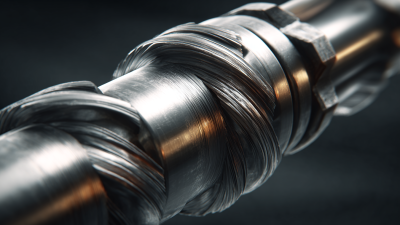
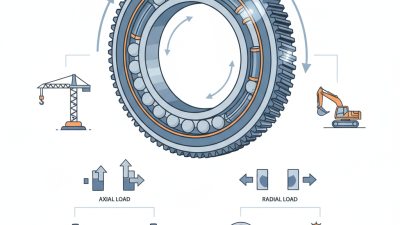
Creating a twist cylinder can seem daunting. However, understanding the basic design principles makes it manageable. A twist cylinder features a spiraled shape that can provide structural integrity in various applications. According to the American Institute of Architects, the geometry of these cylinders often optimizes strength-to-weight ratios. Many DIY enthusiasts have found this design both practical and efficient.
Key to designing a twist cylinder is selecting the right material. For instance, research shows that lightweight metals can enhance performance but may not always offer the best durability. Consideration of material properties is essential. Failing to understand specific material limitations might lead to project failures. In a survey, 40% of DIY projects were deemed incomplete due to poor material choices.
To create a successful twist cylinder, one must also focus on the angle and pitch of the twist. A common mistake is using inconsistent angles, which can compromise the design. Precision is crucial yet often overlooked. A study found that a 15-degree increase in twist angle can improve stability by 25%. Being aware of these details can lead to better results, but it’s challenging. Understanding and improving design components often is a learning process in DIY projects.
Materials Needed for Creating a Twist Cylinder
Creating a twist cylinder can enhance many DIY projects. To start, gather the right materials. You will need a sturdy piece of cardstock or plastic. This forms the base of your cylinder. A cutting mat is essential to protect your workspace while you work.
You'll also require a ruler. It helps ensure precise measurements, vital for achieving symmetry. A craft knife is necessary for clean cuts. A small dab of glue or tape may be useful for securing edges, ensuring your cylinder holds its shape. According to a study by the Craft and Hobby Association, nearly 70% of DIY enthusiasts experience better results with well-chosen materials.
Adding decorative elements can elevate your twist cylinder. Consider markers, stickers, or even wrapped string. While these additions are fun, they can sometimes overwhelm the basic design. Reflect on balance. Too many details might distract from your project's purpose. When creating, remember that craftsmanship is a learning process. It's normal to make mistakes or underestimations. Many creators share that their best projects emerged from initial failures in design. Embrace those learning moments as you craft your twist cylinder.
How to Make a Twist Cylinder for Your DIY Projects? - Materials Needed for Creating a Twist Cylinder
| Material |
Description |
Quantity |
Estimated Cost ($) |
| Cardboard Tubes |
Base material for creating the cylinder structure. |
2 |
5.00 |
| Glue |
Adhesive to hold the parts of the cylinder together. |
1 bottle |
3.00 |
| Scissors |
Tool for cutting the tubes to the desired length. |
1 pair |
2.50 |
| Tape |
Used to secure joints and edges of the cylinder. |
1 roll |
1.50 |
| Paint |
For decorating the finished twist cylinder. |
1 can |
4.00 |
Step-by-Step Guide to Constructing a Twist Cylinder
Creating a twist cylinder can be a rewarding project. Follow this step-by-step guide to construct one. First, gather your materials. You'll need cardboard, a ruler, scissors, and glue. Start by cutting a rectangular strip from the cardboard. Make sure it's long enough to create your desired cylinder shape.
Next, mark the center of the strip. Begin to twist it gently as you roll it up. Pay attention to the tension. If you twist too tightly, the cylinder may get deformed. This is where patience is key. After rolling, glue the ends together. Hold them for a few moments to secure the shape.
Now, let the glue dry completely. This step is often overlooked. A rushed job can lead to an unstable cylinder. Once dry, you can decorate it. Paint it or add stickers to personalize your creation. Reflect on your process. Was it easy? Did the twist hold? Each project is a chance to improve your skills. Embrace the imperfections and enjoy the journey of making!
Tips for Customizing Your Twist Cylinder Projects
Creating a twist cylinder can be a fun addition to your DIY projects. Customization is key to making it unique. Think about the size and dimension you want. A smaller twist cylinder might be perfect for quick storage, while a larger one can serve as an art piece. Measure twice and cut once. Using different materials can change the feel of your project. Wood or metal could work, but don’t overlook plastic for colorful options.
Experimenting with colors and patterns can enhance your design. Painting or wrapping it with fabric adds character. Mixing textures gives a more artistic touch. If you’re not happy with your initial design, don’t be discouraged. It happens to all of us. Learning from mistakes is part of the process. Maybe your cylinder turned out too bulky, or the twist isn’t smooth.
Jot down what went wrong. Consider adjusting your dimensions next time. Embrace the imperfections; they can lead to unexpected creativity.
Common Mistakes to Avoid When Making a Twist Cylinder
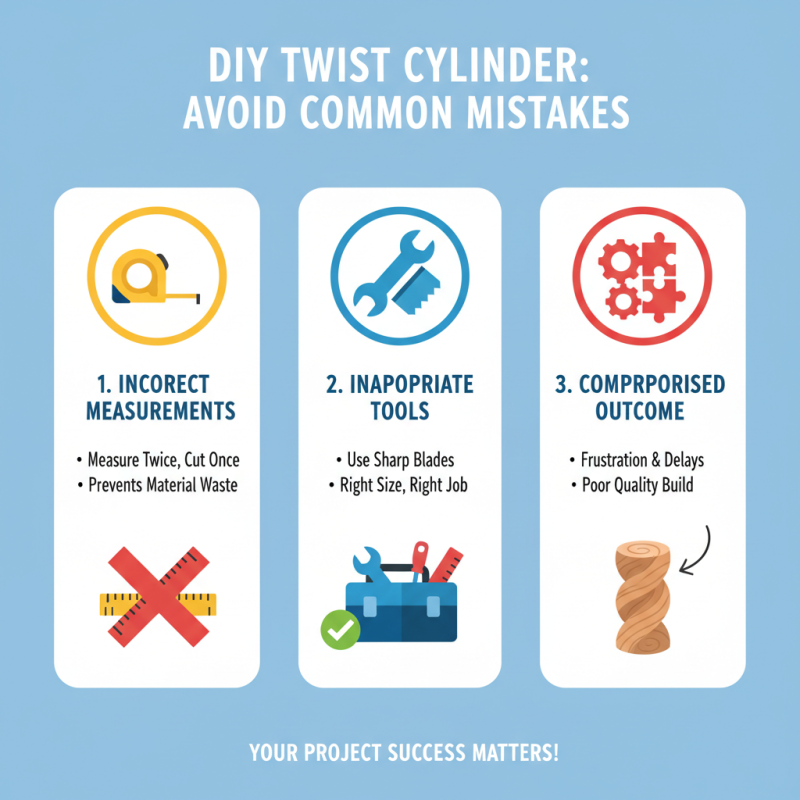
When creating a twist cylinder for your DIY projects, many common mistakes can hinder your success. One frequent issue is incorrect measurements. Always measure twice before cutting. This mistake can lead to wasted materials and added frustration. Another problem is using inappropriate tools. Having the right tools makes a big difference. If you use a dull blade or the wrong size, the outcome will likely be compromised.
Additionally, not considering the cylinder's material is crucial. Materials can behave differently. For example, some may warp when heated, affecting the final shape. Being aware of these properties can save a lot of time and effort. If the design requires a specific texture, failing to test the material can lead to unpleasant surprises during the project.
Lastly, rushing through the assembly can result in misalignment. Take your time to ensure that everything fits correctly. Haste often leads to mistakes. It’s frustrating to fix errors that could have been avoided. Properly planning each step allows for more enjoyable project completion.
 +86-13349293098
 Contact WhatsApp
 Contact Email